How to install wallpaper: guidelines for a perfect result
Discover how to install Instabilelab vinyl wallpaper with our guide.
How to install Instabilelab vinyl wallpaper: mandatory conditions
First, unbox the package and check that you have received all the material you need to install Instabilelab vinyl wallpaper: rolls, glue, installation manual and laying scheme.
Afterwards, provide yourself with the necessary equipment (for correct positioning of the wallpapers): specific tools are needed for each step:
- Medium-haired brush or roller
- Cutter
- Spirit level (laser or manual)
- Bucket for diluting the glue
- Plastic wallcovering smoothing tool
- Silicone roller
Ensure that the wall is suitable for the wallcovering
For optimal installation, the wall must be smooth, without cracks, free of moisture and without any trace of infiltration. In addition, the verticality must be checked: any irregularities do not allow the wallpaper rolls to fall perfectly upright during installation and complicate the joining.
If the surface has obvious defects, large water infiltrations or visible traces of mould, we advise against proceeding with the application until the wall has been treated with the appropriate products.
For an optimal result, Instabilelab recommends a qualified installer who will assess the installation.
3 steps for laying vinyl wallpaper:
1.Before starting the installation
- The glue: dilute the contents of the bag in about 3 litres of cold water and mix quickly. Let the glue stand for about 3 minutes, then stir vigorously. The product is ready in 5 minutes
- Before laying the wallpaper, take the installation scheme and mark the various rolls width on the wall with a pencil, checking the perfect positioning perpendicular to the floor with a laser level.
2. Laying of the rolls (on walls)
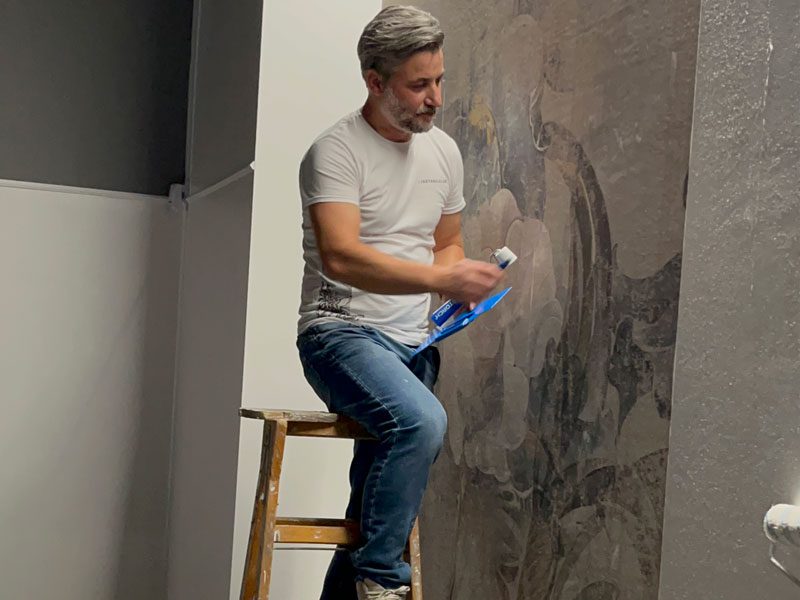
- Apply the glue directly on the wall in the area of the roll to be laid (glue dries quickly, so it is best to apply a little at a time) using a brush or a medium-haired roller, creating a generous and even layer. For this operation, it is advisable to start the installation from the 2nd roll (for better management of possible irregularities of the wall).
- When starting the laying from the 2nd roll, take into account the lateral excess of at least 5 cm of the first roll. Lay the rolls carefully so that they adhere well to the wall, accompanying them with a plastic wallcovering smoothing tool. Make sure that the rolls are well applied at the edges and that there are no air bubbles or excess glue.
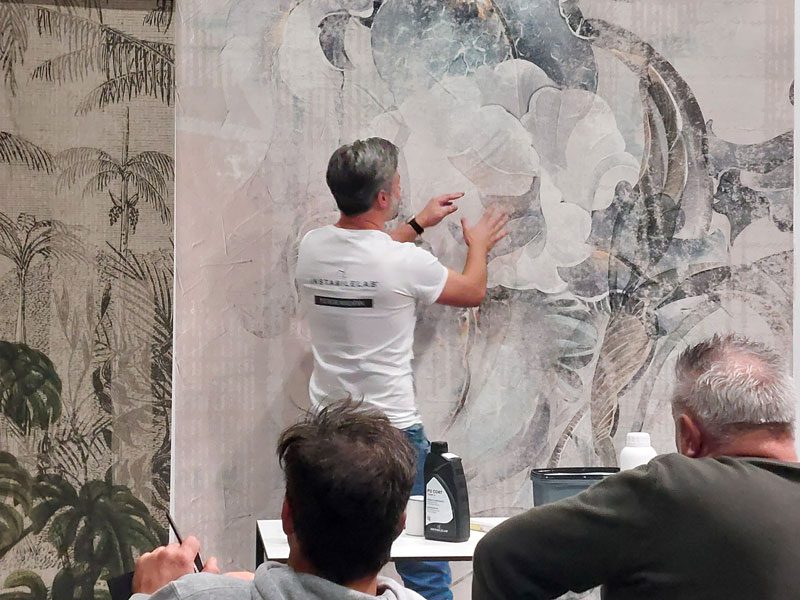
- Proceed to lay the subsequent rolls carefully, ensuring that they fit together perfectly without overlapping, following the drawing of the chosen graphics.
3. Removal of lateral excess cm
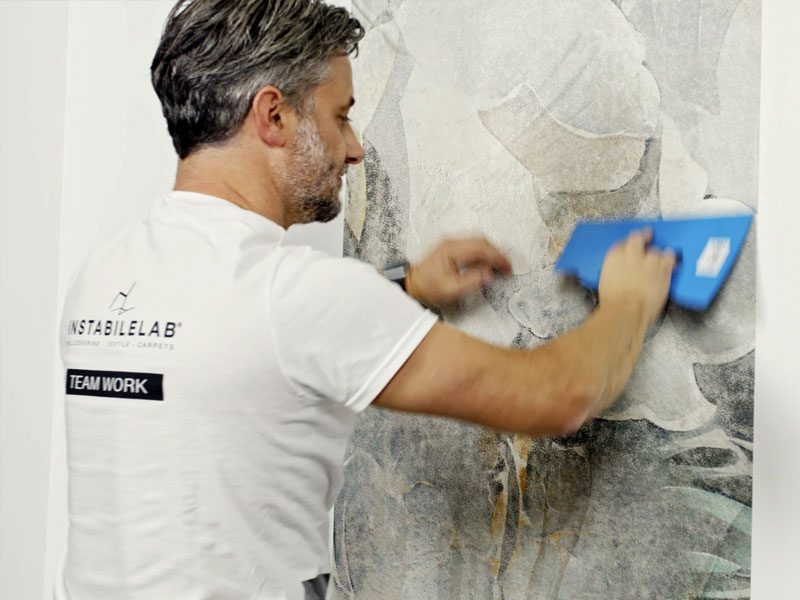
- Trim off the excess of the roll with a sharp cutter, using the wallpaper smoother as a straightedge. Do the same for all remaining rolls, making sure to follow each step.
Once the installation is complete, press gently on the joints of the rolls with the help of a small silicone roller to achieve perfect adhesion. Finally, dab the sheets with a dampened cloth, especially at the joints, to remove residues or excess glue.
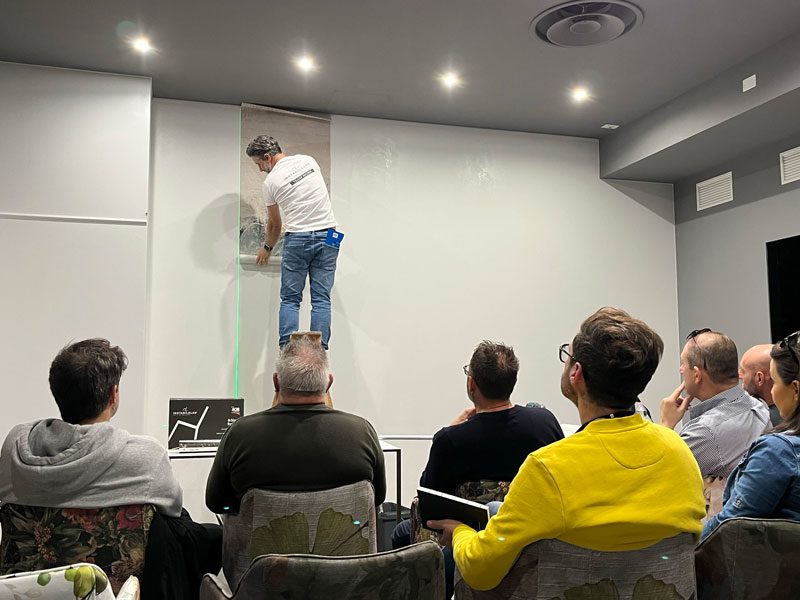
Instabilelab organises wallpaper-laying training courses in our training room at The Club, Instabilelab’s showroom, or at the premises of interested customers.